Power User Insights are guest blogs written by advanced users who share their tips, tactics and techniques so you can get the most out of Acronis products.
Paul Larini has been using Acronis True Image and making it work in WinPE for many years. He developed MustangPEBuilder to make customizing WinPE with Acronis software easy for thousands of users.
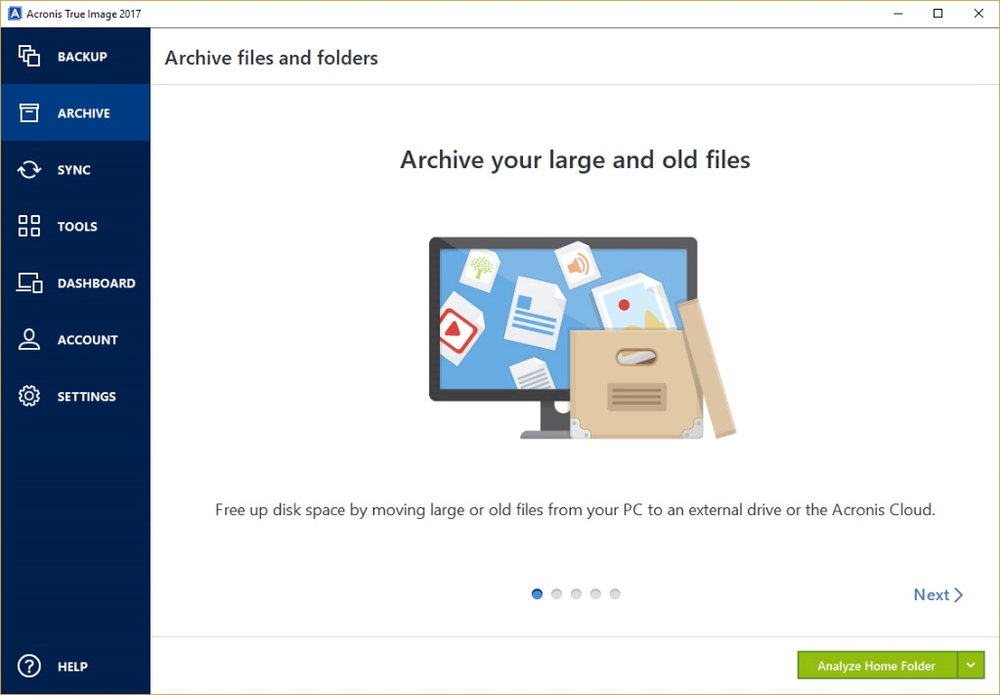
Managing the disk space on your computer can be a constant struggle. The good news is that Acronis True Image has a useful feature that allows you to free up space on your drives whenever you want. Called Archiving, it lets you move large files or files that are seldom used into storage – either in the Acronis Cloud or on a drive connected to the local computer.
Not only will Archiving free up disk space, it also creates a shortcut on your computer so you can quickly access those files later.
To get started, open True Image and click the “Archive” menu item. There is a tutorial built into Acronis True Image to help you understand the “Archiving” procedure. Here’s a quick overview.
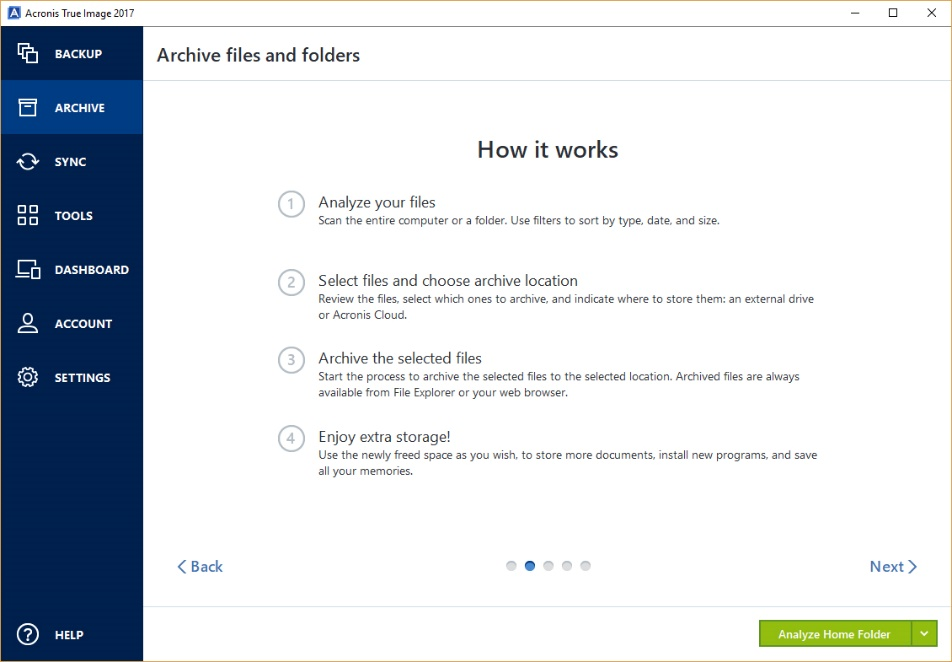
You can review the files on your computer by choosing a variety of criteria such as the type of data, date created, or size. Then you simply cherry-pick the files you want to archive and select the location where they will be stored. You can move them to a local drive or place them in the Acronis Cloud storage area associated with your account. Once they are archived, you’ll enjoy the extra storage space on you drive.
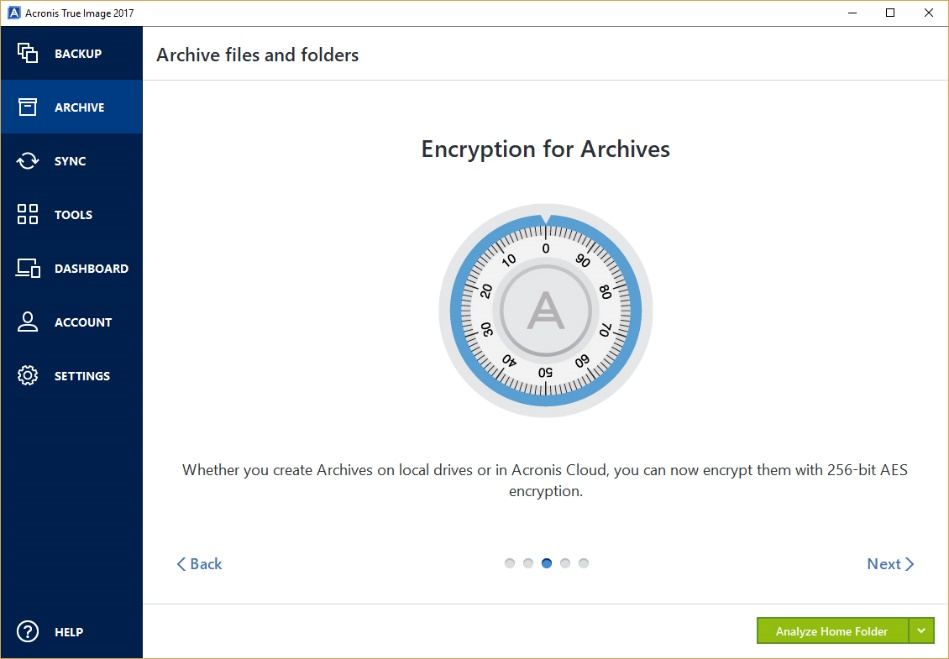
Looking to place an extra layer of security around your archived files? You can encrypt the data archived in the Acronis Cloud using military-grade encryption.
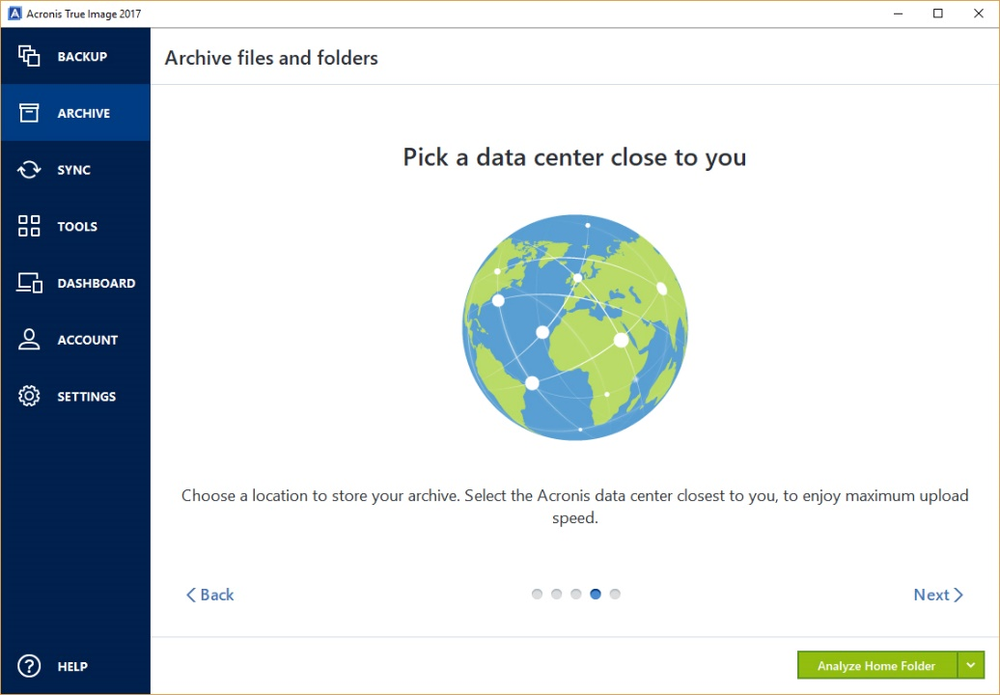
If you decide to store the archived files in the Acronis Cloud, you will be able to select the data center closest to you, ensuring you’ll experience the fastest transfer speed when uploading the data.
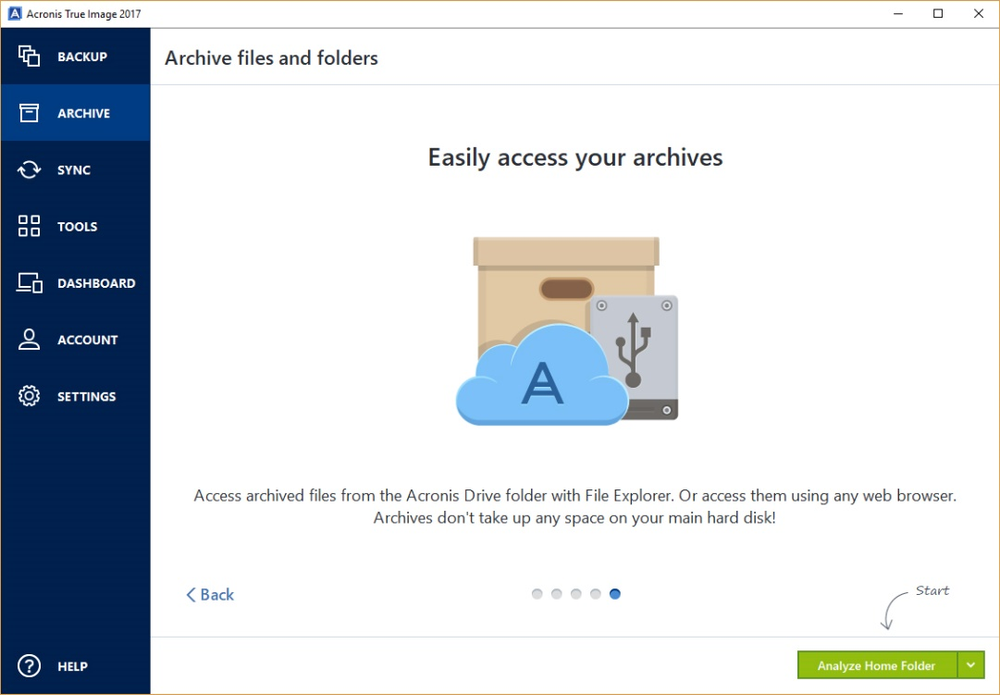
The “Analyze Home Folder” button on the “Archive” screen will examine the Users folder on your Windows system. Any Documents, Downloads, Pictures or other folders you created in the Users folder will be evaluated. If you wish to review a different folder, simply click on the down arrow next to the “Analyze Home Folder” button and pick one.
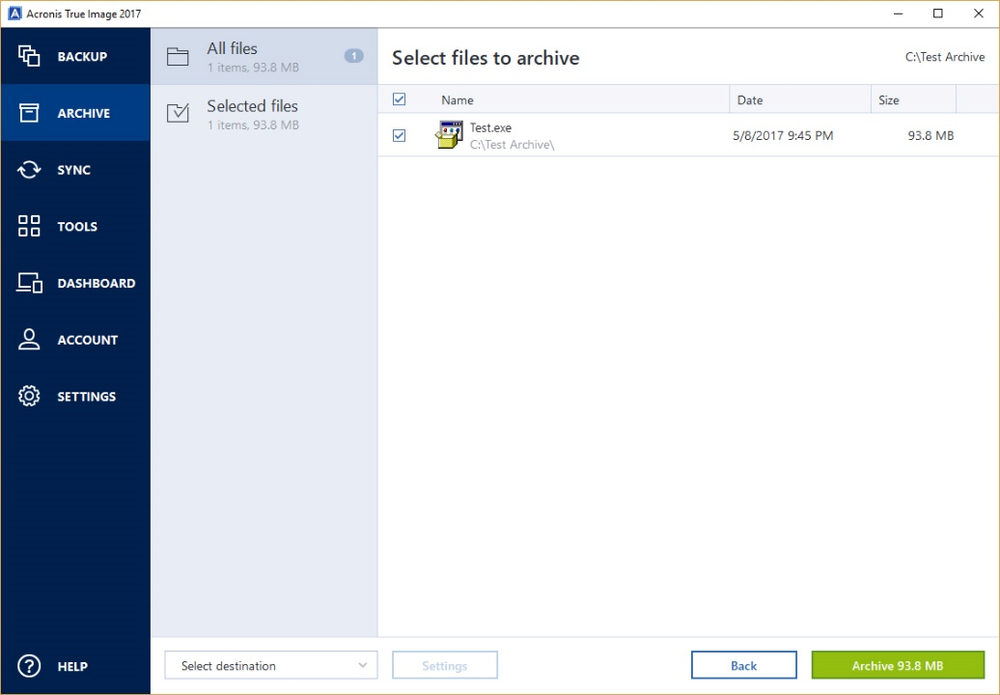
Here is an example. In the image below, a folder named “Test Archive” was created on the C: drive with a file named “Test.exe”. To archive it, you’d select this file:
Then you’d click the “Select Destination” button to choose where the archive will be stored – either the Acronis Cloud or a local folder. In this example, the file is being saved to a folder at D:\Archived Files:
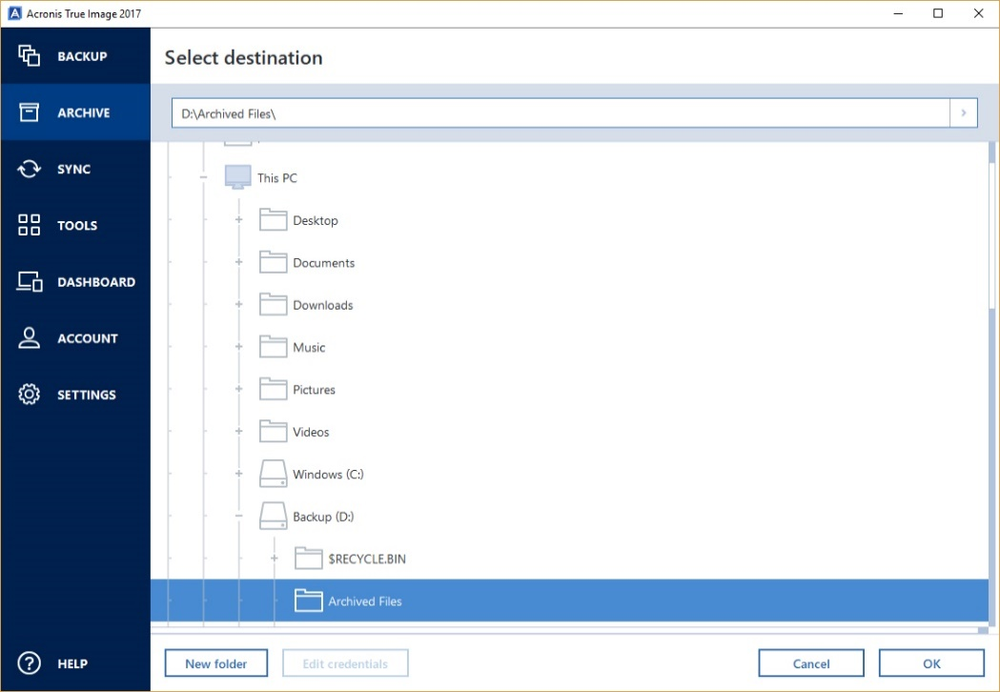
Once you click the “OK” button, you’ll want to click the “Archive” button in the lower-right section of the screen. You will see the following message asking if you want to proceed.
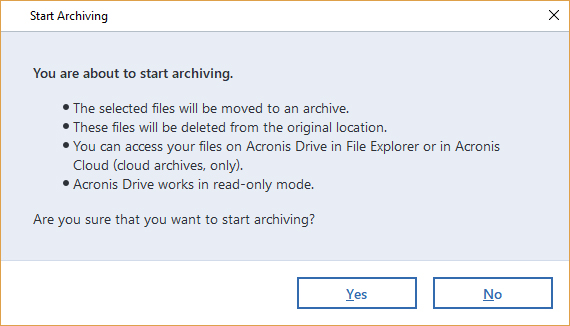
You start the archiving process by choosing “Yes.” When it is finished you will see the following screen:
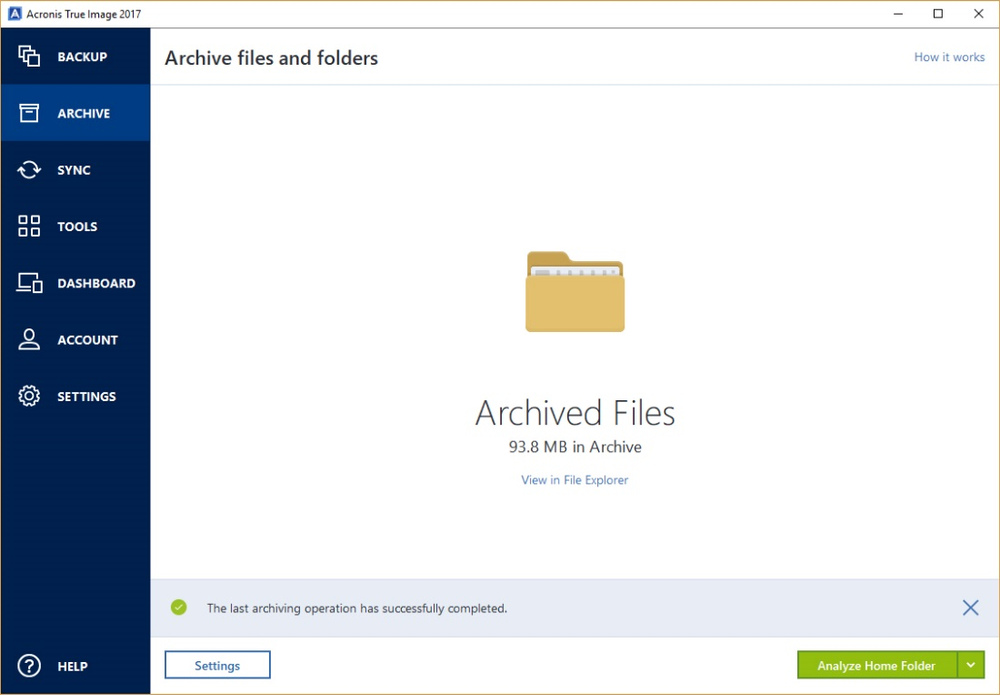
You can either choose another folder to analyze and archive, or close the window if you are finished.
An “Acronis Drive” location where the archived files are saved is now on your computer. You can view the archived files using File Explorer, although they will be stored in read-only mode. If you wish to work with them, simply copy the files to the original (or any new) location.
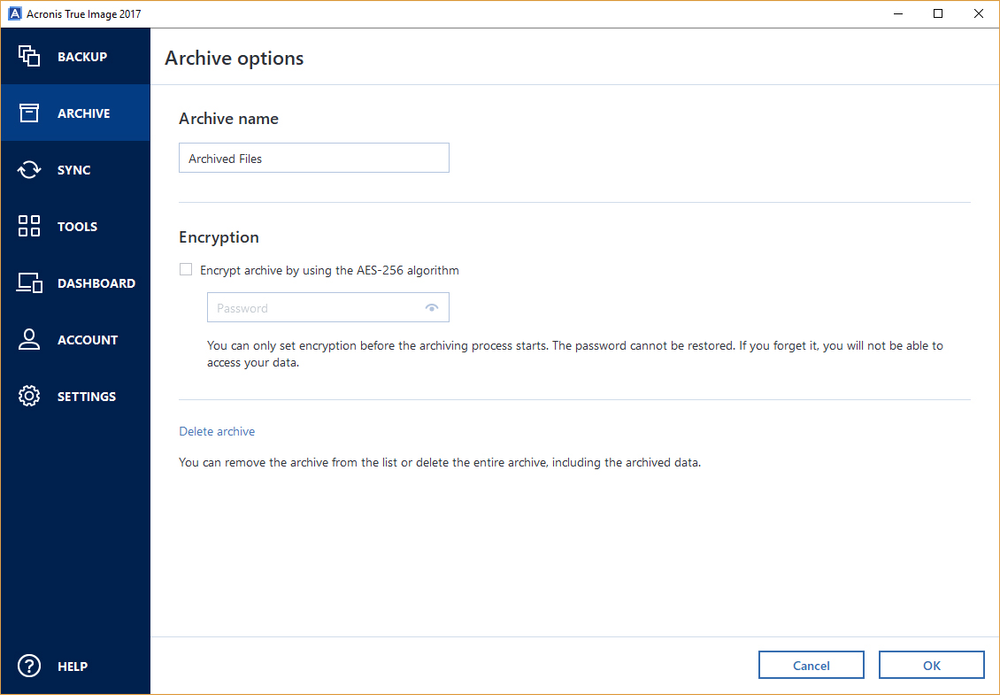
When you click on the “Settings” button, you have two additional choices.
You can further safeguard the data by checking the “Encryption” box and adding a password.
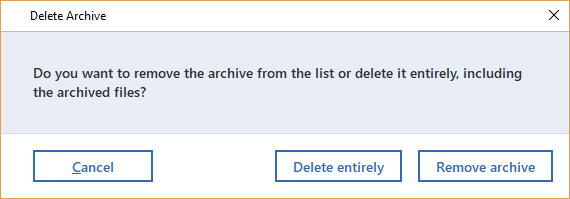
Alternatively, you can select the “Delete archive” item to remove the archived file from the list or delete it entirely:
About Acronis
A Swiss company founded in Singapore in 2003, Acronis has 15 offices worldwide and employees in 50+ countries. Acronis Cyber Protect Cloud is available in 26 languages in 150 countries and is used by over 21,000 service providers to protect over 750,000 businesses.


